


James Harding
01/05/2026
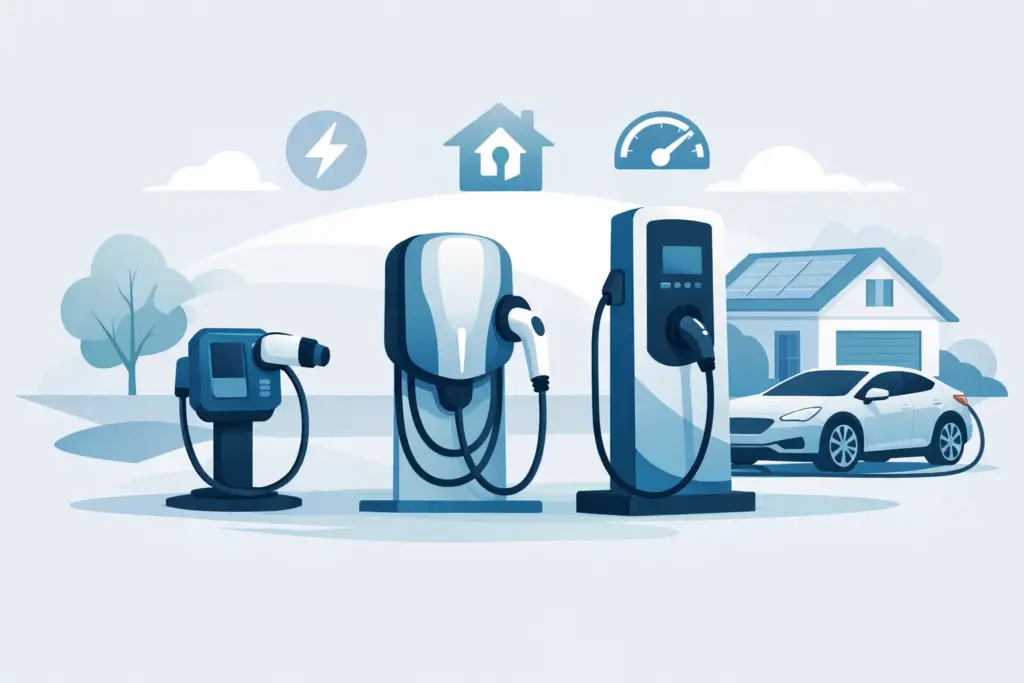
How Are Home EV Chargers Installed?
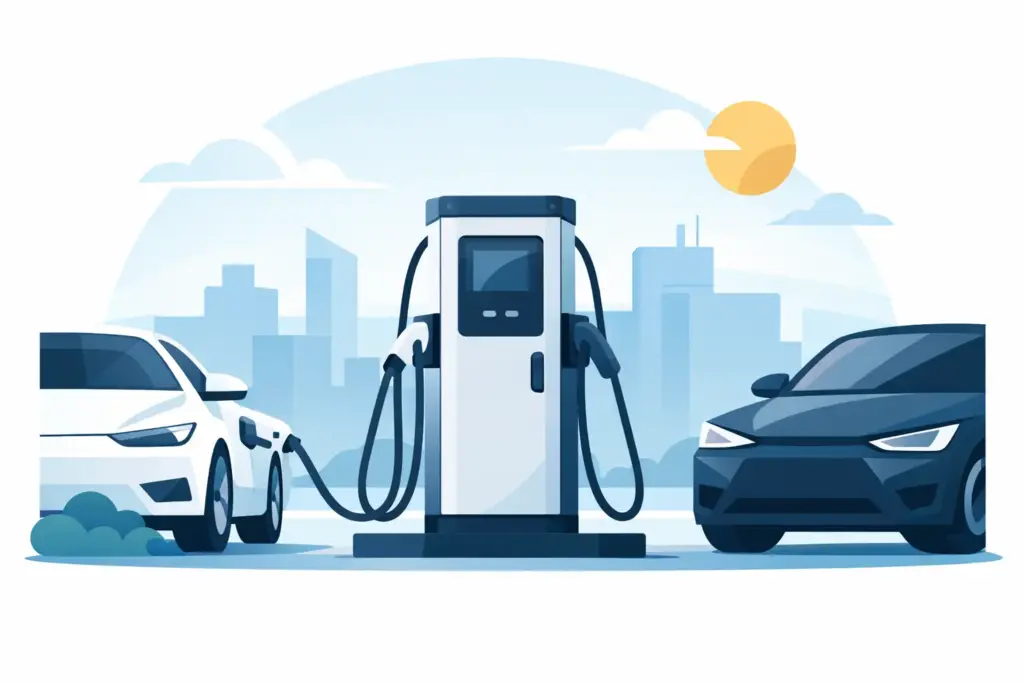
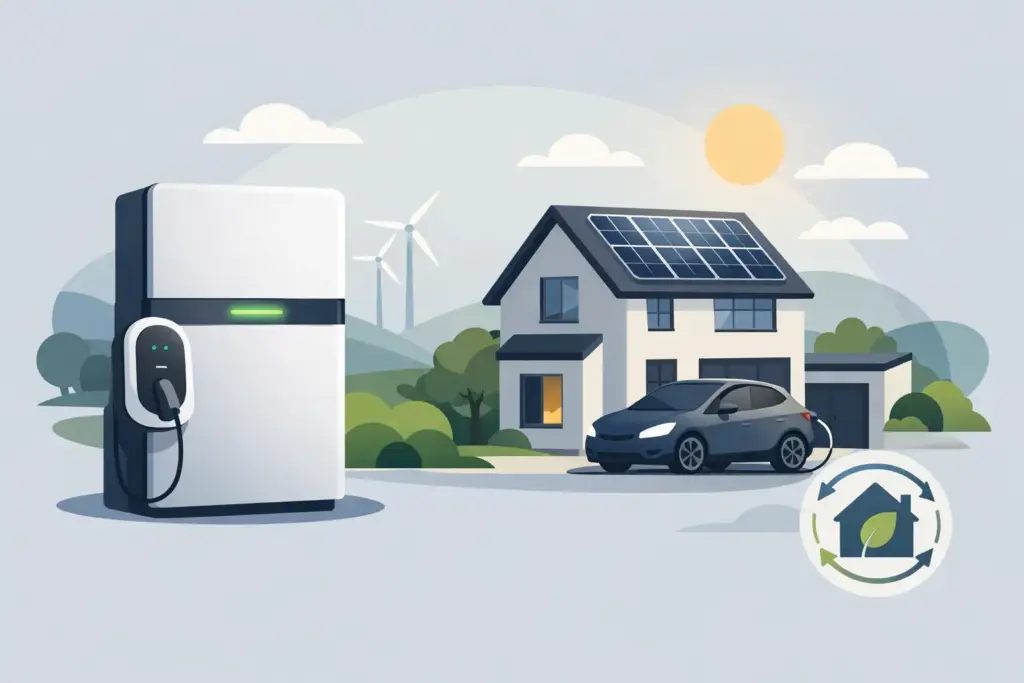
Most home EV charger jobs look simple from the driveway. A charger goes on the wall, a cable runs back to the consumer unit, and the car starts charging. In practice, how are home EV chargers installed depends on the property, the existing electrical supply, the charger specification and the protection required to meet current UK standards.
If you are buying for your own home, the main concern is usually whether the installation will be straightforward and what it will cost. If you are sourcing for customers as an installer, the focus is wider – supply capacity, earthing arrangement, cable route, load management, fault protection and the right accessories to complete the job without delays. Either way, the process follows a clear sequence.
How are home EV chargers installed in the UK?
A home EV charger installation normally starts with a site survey. That may be carried out in person or by remote assessment using photos, but the aim is the same: confirm where the charger will be mounted, where the cable will run, and what the electrical supply can support.
The installer will usually check the consumer unit location, spare ways, main fuse rating, earthing system and the distance from the board to the charge point position. They will also look at practical details such as whether the charger can be reached easily from the parked vehicle, whether the wall is suitable for mounting, and whether the cable route will need drilling, clipping, trunking or armoured cable.
From there, the charger and installation materials are selected to suit the job. For some properties, that means a straightforward single-phase smart charger on an external wall close to the driveway. For others, it may require a longer run, a pedestal or post mount, load balancing, additional circuit protection or PME fault protection depending on the charger and earthing arrangement.
The survey and design stage
This is where most of the important decisions are made. A proper survey reduces call-backs, avoids compliance issues and gives a much clearer idea of the final install cost.
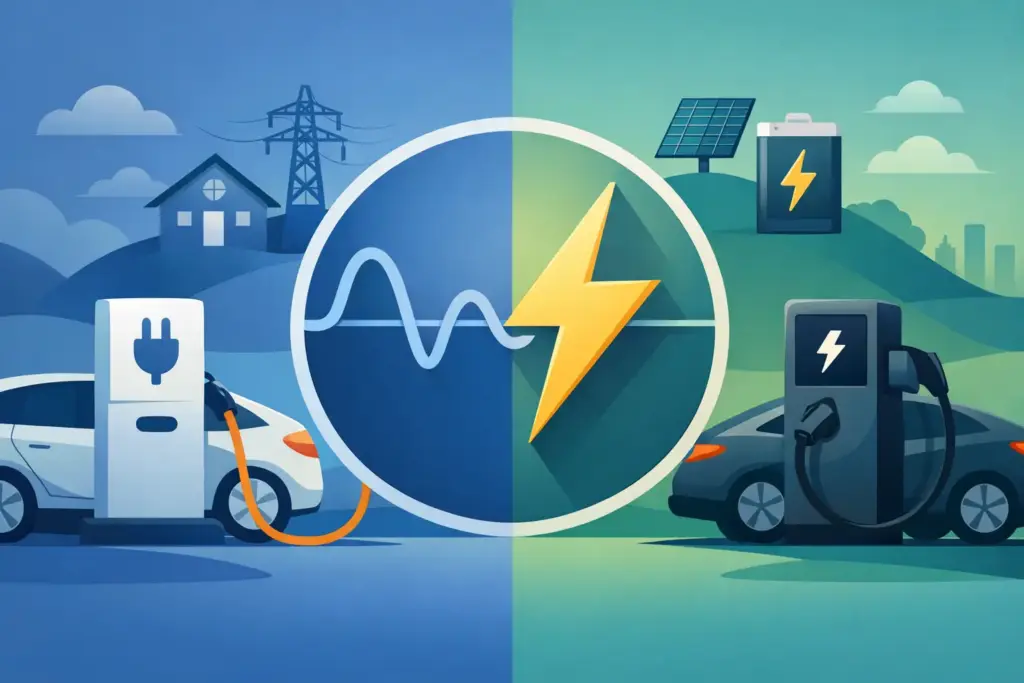
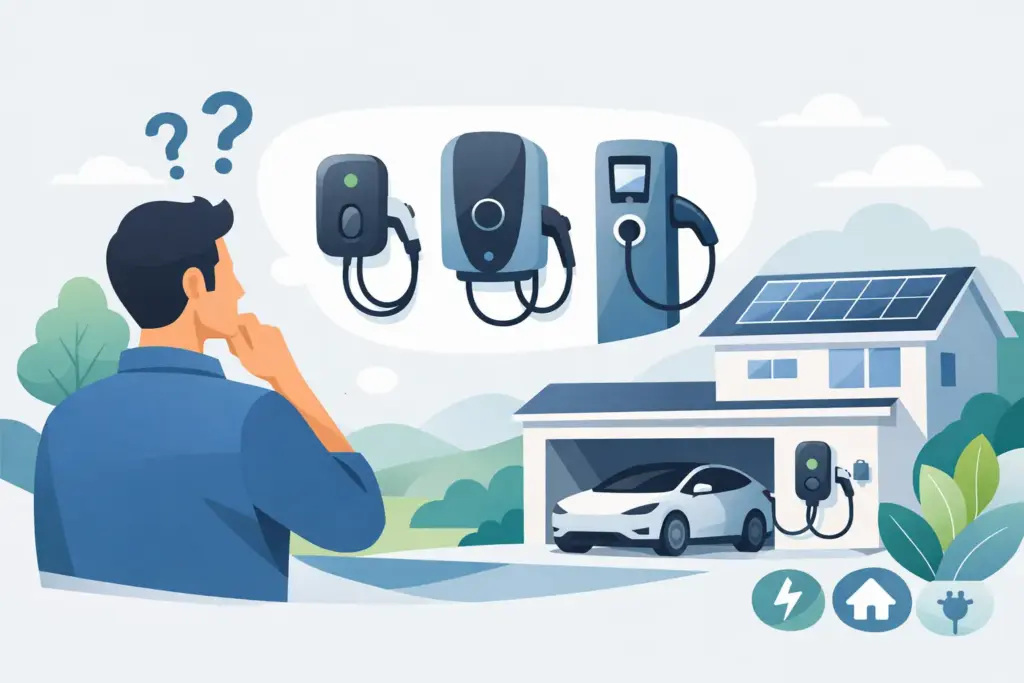
The first question is usually charger compatibility. A homeowner may want a unit that works with off-peak tariffs, solar integration or app-based scheduling. An installer may need to match the charger to the customer’s vehicle, supply type and preferred features while keeping the job commercially efficient. Brands differ in cable options, tethered versus untethered format, built-in protection, CT clamp requirements and connectivity.
The second question is electrical capacity. Many UK homes can support a 7.4kW charger on a single-phase supply, but not every property has enough spare headroom for unrestricted charging alongside the rest of the household load. That is where load management matters. Some chargers use dynamic load balancing to reduce charging current if the house demand rises. In the right setting, this avoids nuisance tripping and can remove the need for more disruptive electrical upgrades.
The third question is compliance. EV charging is not treated like a standard socket circuit. Installers need to consider specific requirements under BS 7671, including fault protection, RCD/RCBO selection, cable sizing, isolation and earthing arrangements. If the charger does not include certain protective functions internally, those have to be provided externally.
Electrical work involved
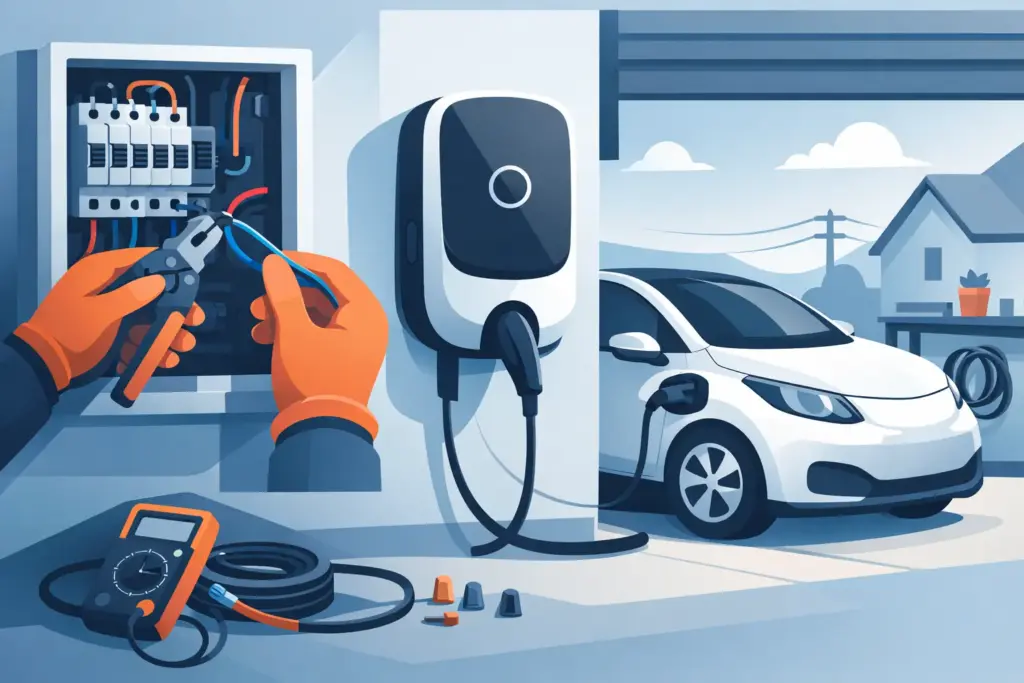
Once the design is agreed, the physical installation starts with the dedicated circuit. A home EV charger should be supplied by its own circuit from the consumer unit. That circuit is sized according to the charger rating, installation method, run length and volt drop considerations.
In a typical domestic install, the installer runs cable from the consumer unit to the charger location. If the route is internal for part of the way, cable may pass through lofts, garages or utility spaces before exiting to the outside wall. External sections may be clipped directly, enclosed in conduit or trunking, or upgraded to SWA where the route and environment call for it.
An isolator is usually fitted so the charger can be safely disconnected for maintenance. Circuit protection is then installed in line with the charger manufacturer’s instructions and the wider requirements of the installation. Depending on the charger design, this might include an RCBO, surge protection and a separate earth rod solution, or a charger with integrated open PEN protection that avoids the need for additional earthing measures in many TN-C-S installations.
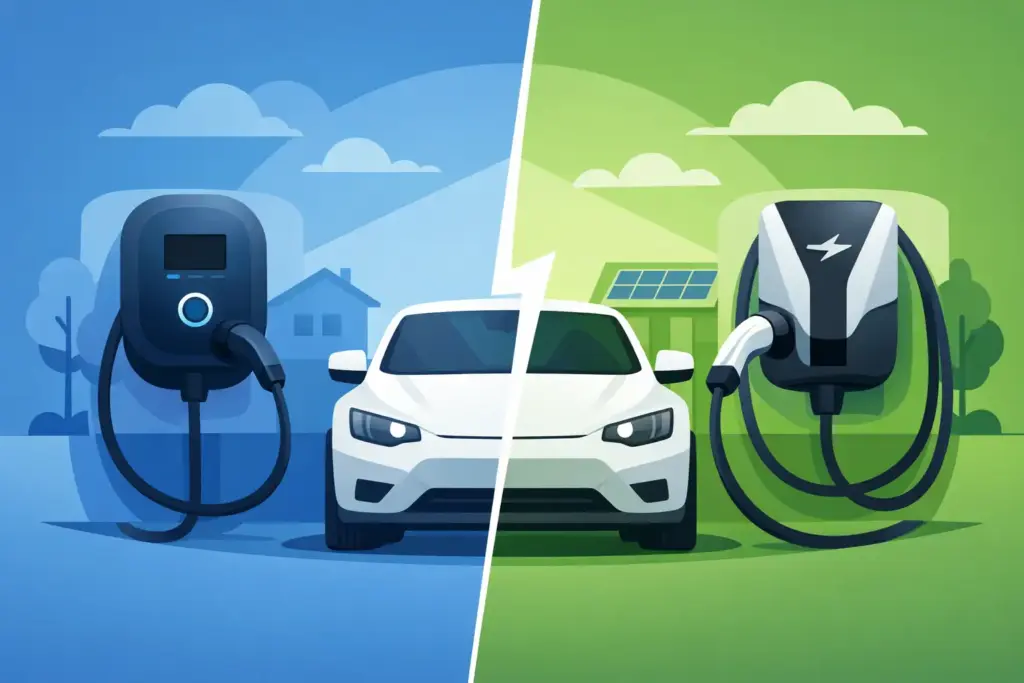
This is one of the key areas where jobs vary. Two chargers with similar charging power can have different installation requirements because of the protection built into the unit. That affects not just compliance, but also labour time, parts list and final cost.
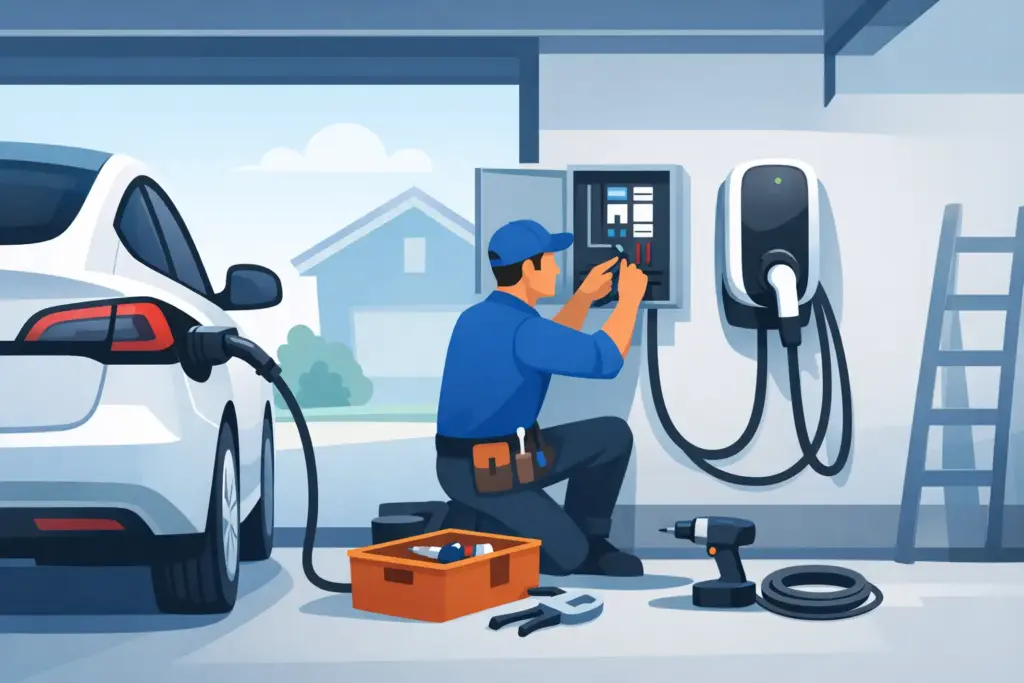
Mounting the charger and routing the cable
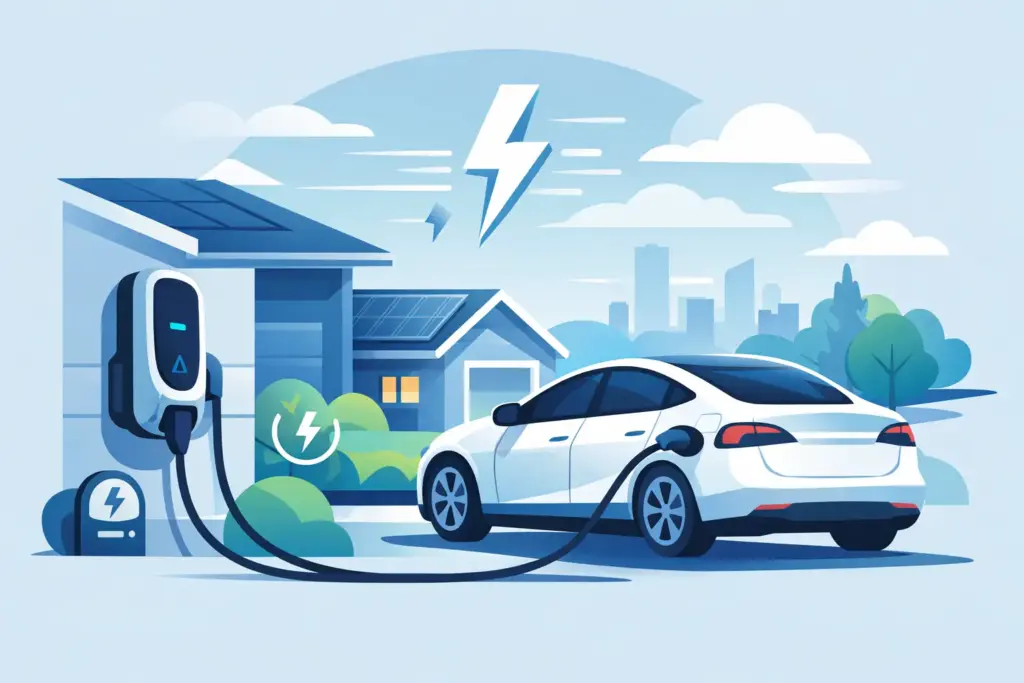
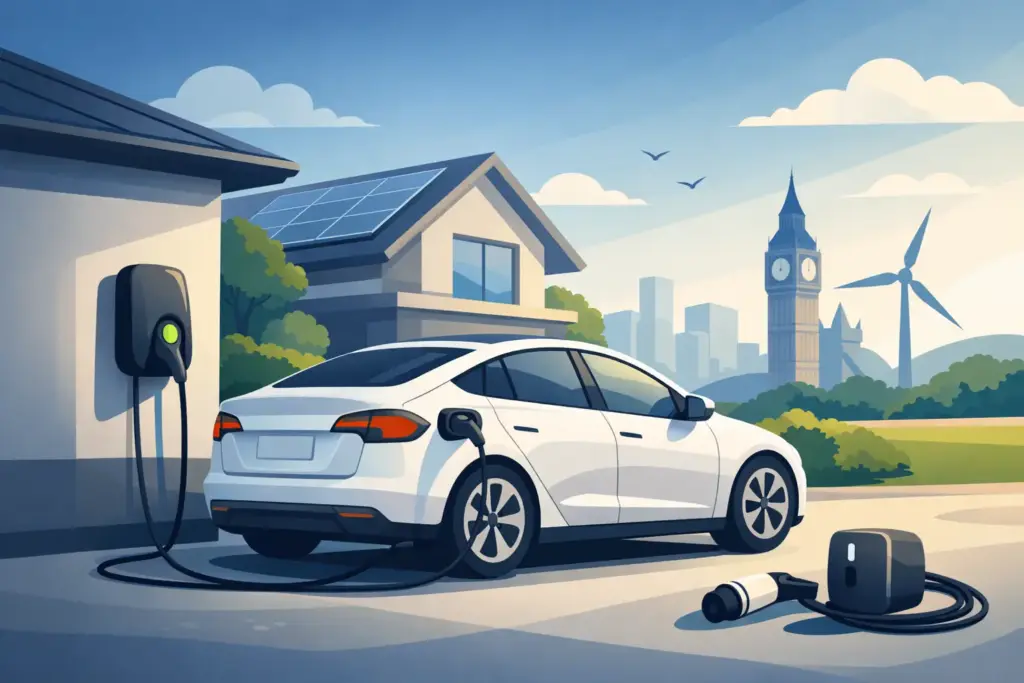
The charger itself is then fixed in position. Most domestic units are wall mounted, usually on the side of the house or in a garage. The ideal position is practical rather than cosmetic. It needs to be close enough for the charging lead to reach the car comfortably without creating a trip hazard or stretched cable.
Height and access matter too. The unit should be easy to use, with enough clearance for plugging in and cable storage. If the charger is tethered, the installer will also think about where the cable sits when not in use. If there is no suitable wall surface near the parking space, a mounting post may be the better option.
Cable routing is often what separates a simple job from an expensive one. A charger mounted back-to-back with the consumer unit on the other side of the wall is usually efficient. A charger on a detached garage, at the end of a long drive or across landscaped areas may require much more labour and additional containment or civil work. That does not make the job difficult in every case, but it does mean the installation needs planning properly from the start.
Testing, certification and commissioning
After the charger and circuit are installed, the work is tested before being energised and handed over. This includes the usual electrical testing for the new circuit, along with checks relevant to EV charging equipment.
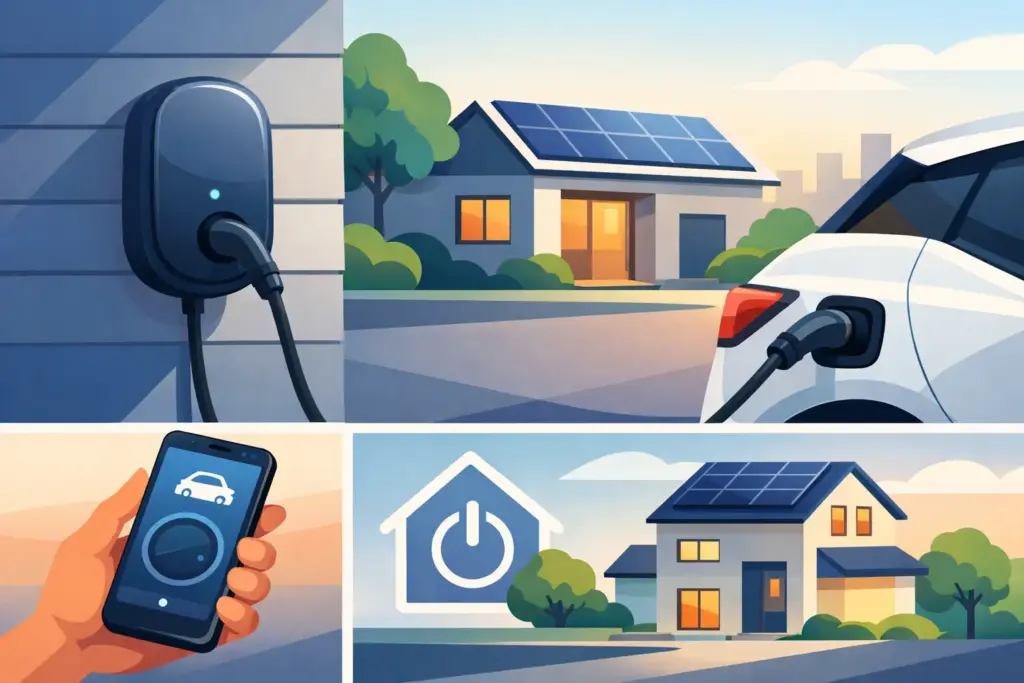
The charger is then commissioned. On a smart charger, that may include connecting it to the property Wi-Fi or mobile signal, setting current limits, enabling load balancing and pairing the app. If there is tariff-based scheduling or solar functionality, these settings may also be configured at this stage.
The customer should then receive certification for the electrical work and a basic handover on operation. That should cover how to start and stop charging, how scheduling works, what the indicator lights mean and what to do if the charger goes offline. For many homeowners, this part matters as much as the hardware. A technically sound charger is no help if the user is left guessing how to use it.
What can affect the installation cost?
The biggest variables are distance, complexity and protection requirements. A short cable run on an accessible wall with spare capacity in a modern consumer unit is rarely the same job as a long-distance install with upgrades, difficult access and additional earthing considerations.
The charger choice also affects cost. Some units include safety and load management features that reduce the amount of external hardware needed. Others rely on separate components. Neither option is automatically better – it depends on the property, the specification you want and how you prefer to build the installation.
If you are pricing jobs regularly, it helps to source the charger, circuit protection, cable, fixings, mounting hardware and installer essentials together. That reduces the risk of missing parts on the day and keeps the specification consistent.
Common questions before installation
One of the most frequent concerns is whether an existing consumer unit can take a charger. Sometimes the answer is yes with a spare way and the correct protection. Sometimes the board is full, outdated or not suitable for the new circuit without additional work. That should be identified during survey, not halfway through the install.
Another common question is whether every home can have a 7kW charger. Many can, but not every home should run at full current all the time without load management. If the incoming supply is limited or the property has high electrical demand, a charger with dynamic load balancing may be the right answer.
People also ask whether a charger must be installed outside. Not necessarily. Garages and outbuildings can work well, provided the installation is designed correctly and the charger remains practical to use.
Choosing the right setup before the install starts
The cleanest installation is usually the one that was specified properly from day one. That means choosing a charger that suits the vehicle, the tariff, the parking layout and the electrical supply, then pairing it with the right protection and accessories.
For homeowners, that often means looking beyond the charger front panel and asking what is included electrically. For trade buyers, it means building the full job pack – charger, RCBO or other protection, surge devices where required, mounting solution, cable management and any load balancing components. UK EV Installers Shop is built around that kind of joined-up purchasing, which is often what keeps domestic installs moving smoothly.
A home EV charger is not a complicated product when it is matched correctly to the property. The real difference is in the planning, the protection and the quality of the installation – get those right, and daily charging becomes the easy part.
Choosing a Commercial DC Charger
Choose the right commercial dc charger for your site with clear guidance on power, grid capacity, payments, connectors and installation needs.How to Size EV Load Management Properly
Learn how to size EV load management for UK homes and commercial sites, from supply limits and diversity to charger settings and…What Is the Fastest Home EV Charger?
What is the fastest home EV charger? Learn UK limits, single-phase vs three-phase, vehicle charging caps and what actually makes home charging…